Showing posts with label glue. Show all posts

Friday, September 9, 2011

Ode to MIZZOU!

I'm a proud alumni of the University of Missouri. I liked it so much, I stuck around for 5 years and earned two degrees! Just kidding. (well, not really... but you get it)

I decided to make a fun wreath to show off my school pride. I have been browsing Pinterest lately in search of a wreath to mimic, and I've found several inspirations!

Before I show my wreath creation and inspirations from the web, first I'll share a few of my favorite things about MU.

The Columns:


As freshmen, it's tradition that you meet at the Columns the Sunday before school and run TOWARDS Jesse Hall. This is me and my BFF (who I met in the dorms) our first week of college.

Senior Send Off
As Seniors, you run from Jesse Hall toward the Columns! Ali and I managed to recreate our picture from freshman year.

Dorm Life:
What can I say? We rocked Johnston Hall and dorm 206. 'nuff said.


TAILGATING! Words can't describe how much I love tailgating. I have many fond memories of many fond tailgates.


Which brings me to....
Football season:
MU vs. OU 
Which brings me to another extremely important point:

It's fun (and necessary) to hate kU
Be a good friend. 

Lastly.. Shakespeares Pizza

Can you tell I'm obsessed? Why wouldn't I be!? I have made the best friends and had the best time in college. I think I'm experiencing a "quarter-life crisis".

As a fun little craft, I made myself a sweet little MU wreath. MIZZZOU-RAH!

A splash of school pride 
The supplies I used are:

  • foam wreath
  • burlap
  • black fabric
  • black/yellow fabric
  • MU print fabric
  • hot glue fun
  • fingers
My colors don't quite match... but trust me, that doesn't bother me one bit. I'm just excited I finally made a wreath that incorporated bunting! Here are a few of my pinspirations:

Casabella Project 
My Blessed Life
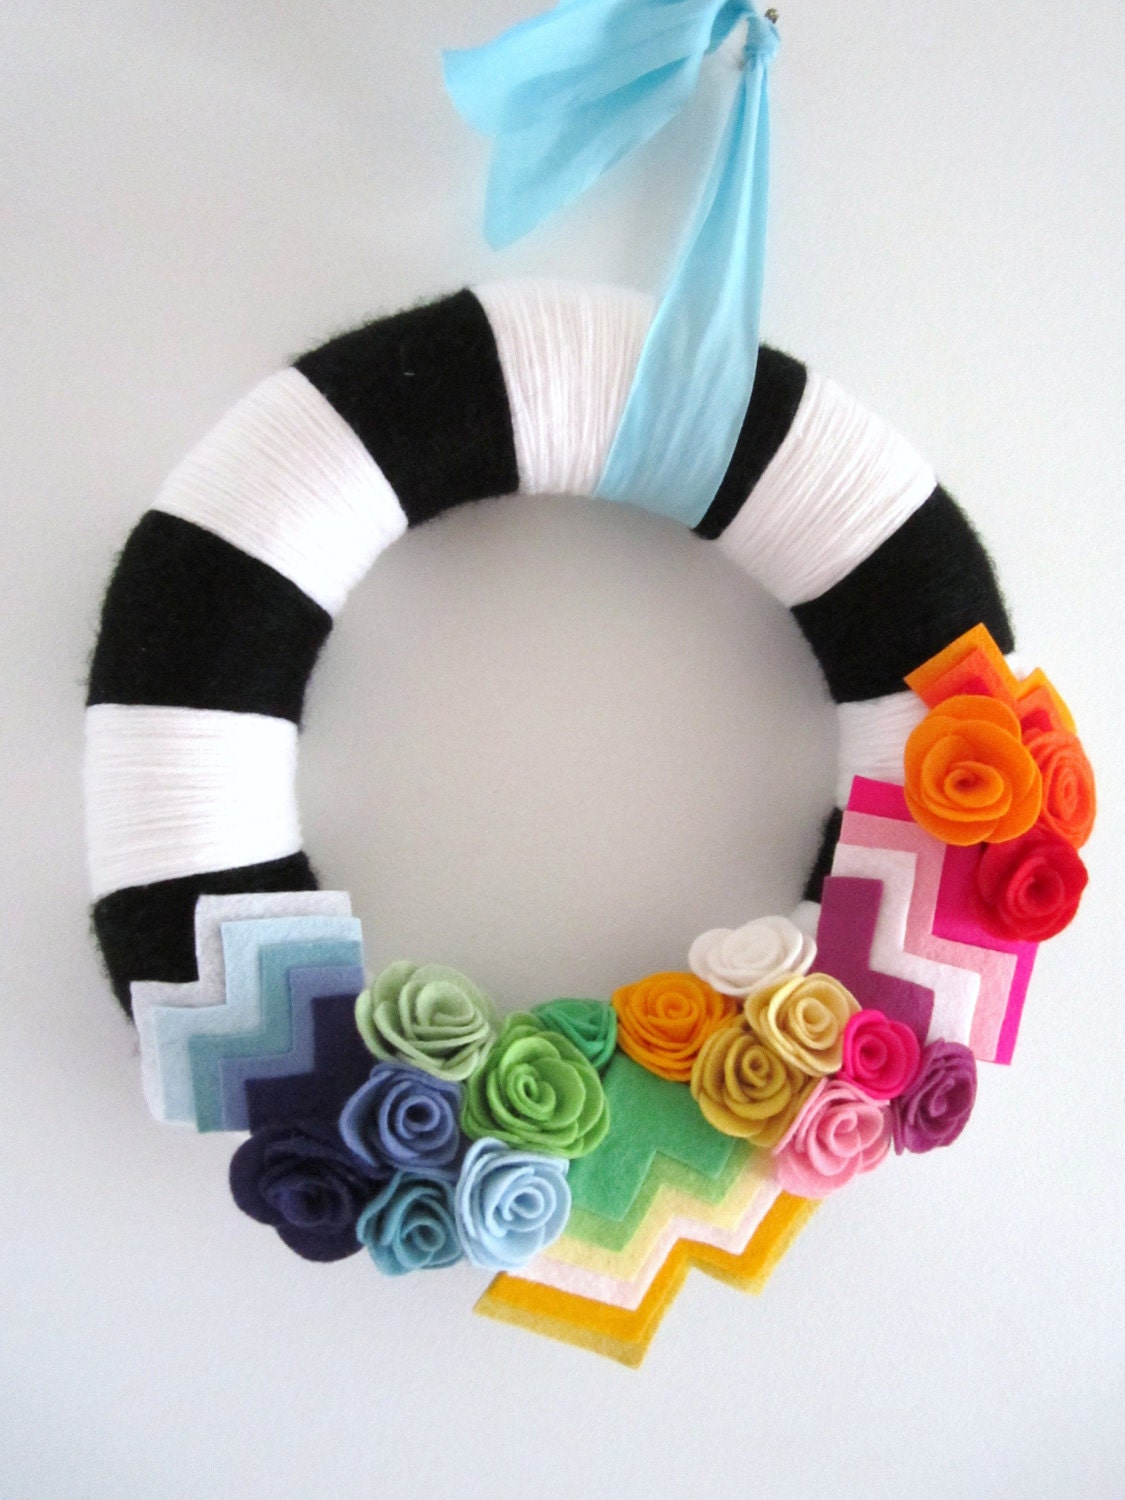
Etsy
Click on the caption of each photo to visit the wreath's source. So, I'm not a professional, but hey! That's a-okay with me.

Stay tuned for a riveting cake pops post in t-minus 10 minutes.

Friday, July 22, 2011

Well, isn't that convenient for you? And the clock.

Name that movie! 
Give up? It's the legendary White Goodman in Dodge Ball. 


If you've got a whole lot of time to kill - read the first half of my post. 

If you're short on time and want to stay sane - read the second half of my post. 


Once again, Pinterest has made me do crazy things. While on a pinning spree, I found myself in awe of this photo:

This craft was geared towards the following events: weddings and/or baby showers. Well, I've got neither coming up but I still felt compelled to create these little gems. I thought (and still think while I'm staring at them completed) these poms would like delightful in my bedroom. 

I gathered my supplies: 
paper lanterns (use the small ones!!)
glue gun
fabric

As the beautiful hand model on Once Wed demonstrates below. I started gluing away. Little did I know I would be gluing and cutting circles for-ev-er (Sandlot, anyone?)

Warning: you will lose a lot of fabric. The end result is worth it! But don't say I didn't warn you.

Her hands are prettier than mine. 

glue glue glue -- cut cut cut -- repeat
I ended up making two poms. I have a yellow and pink fabric delight hanging in my bedroom. While I was completing this project, I managed to talk to a friend during rush hour traffic in San Diego and chat with another friend while we were both Keeping Up with the Kardashians. My advice: multi-task while gluing!

maybe someday I'll make a triplet. Maybe.
Now, are you short on time and want to whip something up? Ahhhh I've got the craft for you.

Using a small wreath from Dollar Tree, fabric, and glue... you can crank out this wreath in no time. 

Although, of course I had issues. It's probably because I made my wreath at 12:00 AM. My sleeping patterns are all out of whack. Anyway that's another story!

The directions say to make "pleats" with the folded fabric. I tried this and was unsuccessful. My so-called flower looked like a pile of fabric trying to be fancy. I googled "pleats" and was given very strange images. Clearly, nothing was successful. After burning my fingers one to many times on my glue gun and cursing fabric.. I switched gears. 

I will refer to this as "Fabric Flower Plan B":

I went for the good 'ol Rosette Flower. 


As I'm looking at my wreath next to my bed, I realize it needs a little something ... but I haven't quite figured out what it is. I would love suggestions! 


Tuesday, July 19, 2011

Oh! The Life of a Renter


It's official! I'm a resident of Lake Ozark, Missouri. After 5 fantastic years in Columbia, I've taken a leap and moved away. I figure if two of my friends can move to Texas and California... I can manage the lake!


Since I'm renting my new house, painting isn't really an option. Nor was I ready to take on such a task. Even though I can't paint, I still want to bring color into my living room! My pillows can only do so much.

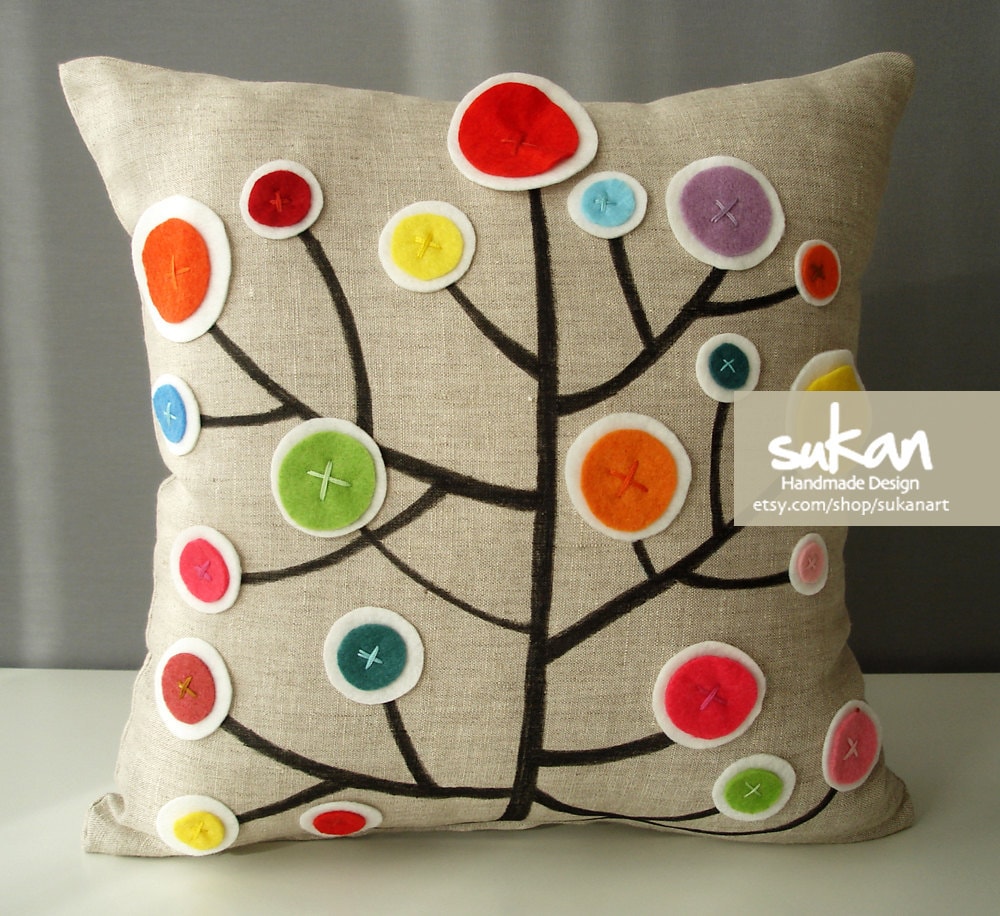
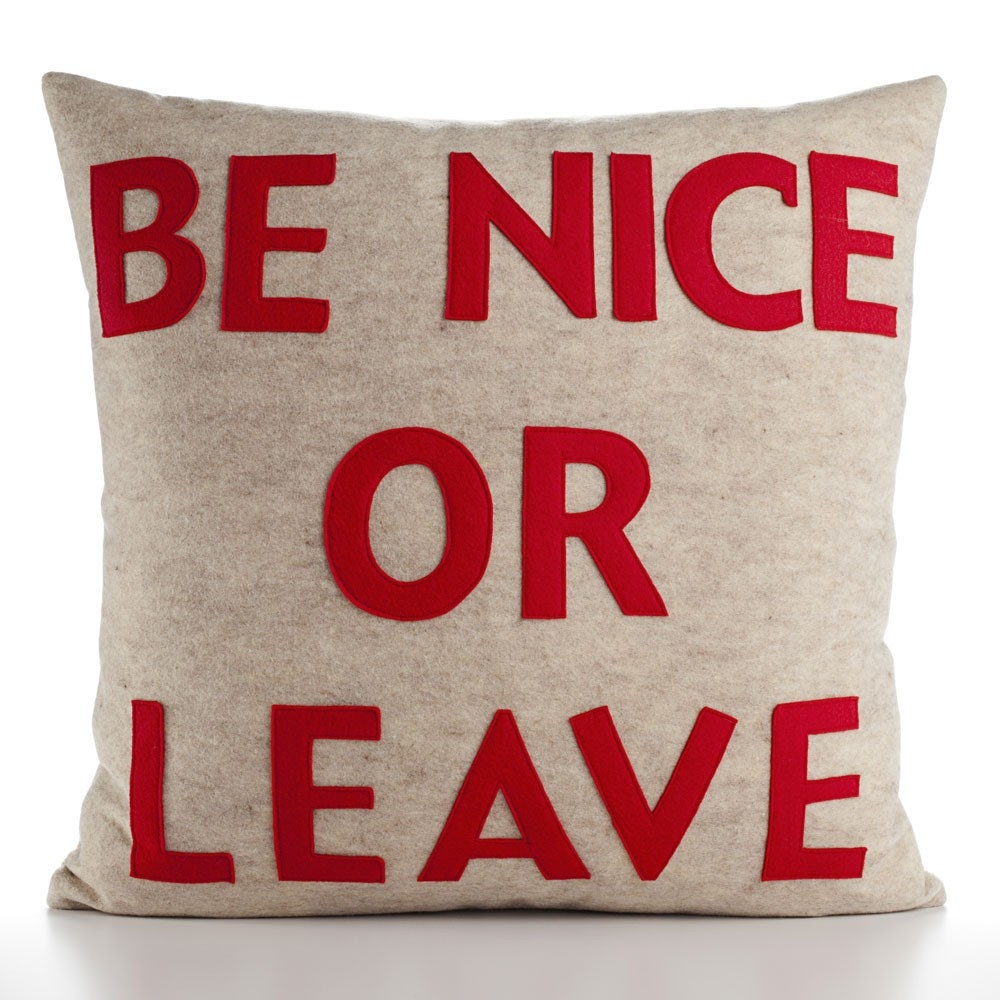
Speaking of pillows... Here are a few of my favorites that I have found lately:

DIY Ruffled Rosette Flower
Missouri Pillow, Etsy

DIY Pillows from Sweaters, Pinterest

Etsy

Recycled Felt, Etsy

White Linen, Etsy
Oops! Got a little distracted. I do love pillows. If you've ever been to mi casa you will find pillows everywhere: on the couch, chair, bed, and floor. Pillows are the perfect addition to any room!

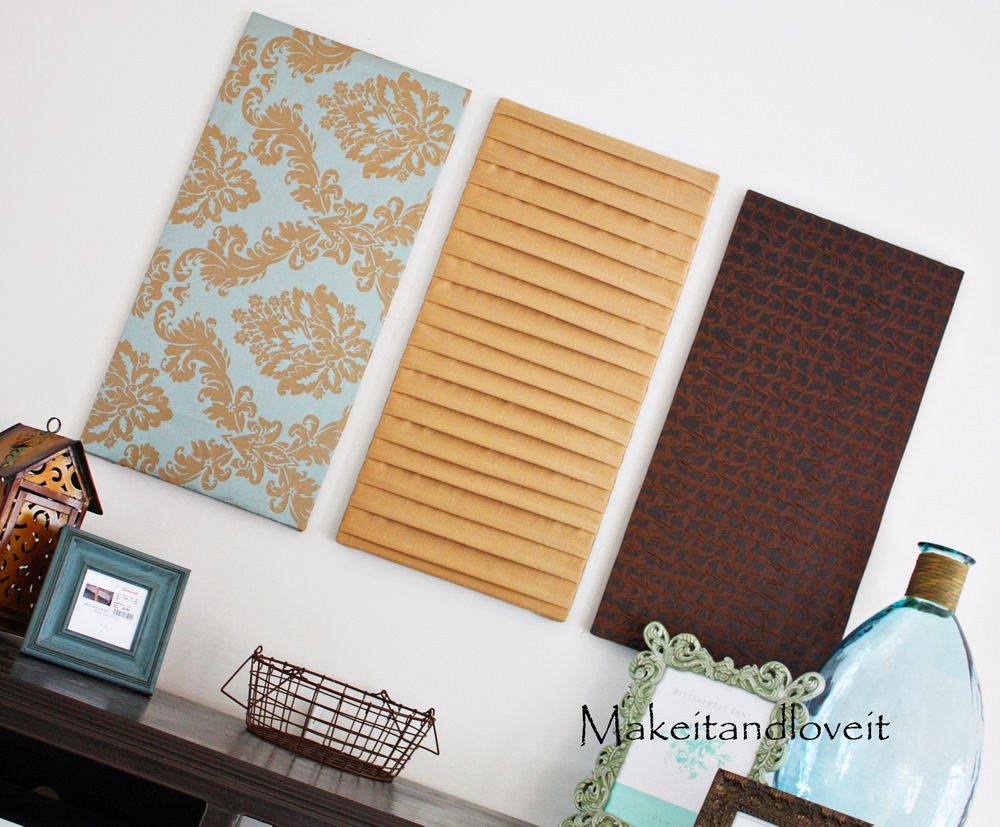
Back to my post.  I wanted to add color to my living room without painting. I found an excellent idea on Make It-Love It's blog to hang fabric. What an excellent idea! 


I picked up a few pieces of fabric at JoAnn's that matched my living room. The tutorial suggests using plywood, staple gun, and other supplies I didn't have.

Since I didn't have (nor want to buy) the necessary supplies, I was stumped as to how to complete this project. Then! A lightbulb lit above my head.

While walking around Michael's craft store, I found myself in the paint section. I found two large white  paint canvases. I will admit, they were more expensive than the plywood approach...but they were much easier for me to handle!

I measured the fabric to fit the canvas like a snug blanket. Then, I started cutting and gluing away!


Lastly, I hung the newly wrapped canvases on the wall using 3M heavy duty frame strips. I stepped back and took a few photos.


An hour later, I was sitting on my couch and they fell on the ground. I jumped so high I thought I was going to land in my bedroom. Luckily, no one was trying to break in... I had only overestimated the capabilities of 3M products.

I put my thinking cap on and used nails.

Then, I ate a cookie. Really.. I did! My landlord made me cookies.

P.S. I joined a Linky Party! Check it out here: Tater Tots and Jello

Friday, July 15, 2011

WAIT! Don't throw that shirt out just yet...

As you know, I'm in the process of moving. With moving comes packing and going through all of your belongings. The majority of my time was spent in my closet... riffling through old high school and college shirts and hard rock cafe t's from vacations. Of course, I couldn't part with any of those. Although, I did find a few that I could spare for a few crafts!

Little did these t-shirts know that they were about to experience a second life. Lucky them!

First, I googled "t-shirt craft" and found this tutorial on Whole Living. It even comes with a little video and everything. I would have watched the clip, but I have very s-l-o-w internet so it would have taken a century.

seems easy enough!

B/W to hide my sweat from the 100 degree temps

I got fancy with mine and added a flower pin. This was easy-peasy-lemon-squeezy.

I also found other fun scarf options on The DIY Dish, but I didn't create any. I think YOU should.


Who doesn't love an adorable flower to be on display in their living room? Well, I am pretty sure I speak for everyone when I say everyone loves having adorable flowers in their living room.

A Little Lovely Blog posted a tutorial on creating flowers from t-shirts. All you need is some sticks and t-shirts! (The tutorial has other materials but all you really need are sticks and shirts!)


While I was hot-gluing my flower to the stick, I became entranced by a fight that broke out on One Tree Hill. I accidentally broke my brand spankin' new stick!

 Good thing the stick was free! Also, good thing it's a stick and it doesn't really matter if it's broken. These are my kinds of crafts. 

A little glue and nobody can tell!
Ta-daaa!
Last but least, Let Birdz Fly has a tutorial on creating a necklace from two shirts. The finished product looks pretty fantastic, but I ran out of shirts. I'll have to raid Andy's closet before I tackle this project!


Do these crafts make me green? Or just someone who likes to cut up their clothing?
Ponder that one.

Wednesday, July 13, 2011

4 Parts Burlap, 1 Part Flower

I think I'm addicted to crafting. Seriously. It's become a problem. 
Everyday this week I have made something new. You know what I SHOULD be doing? Packing. I'm moving on Monday... my apartment is not "move-out" ready. 

After spending 30 minutes on the phone with the electric company and packing up my dishes my addiction kicked in. I headed to The Mud Room on Walnut Street in Columbia. My friend Sarah and I created some neat goodies. I painted a mug and light switch. I was prepared to pick it up tomorrow (which I thought was Wednesday) until Sarah corrected me and said next Wednesday. Since I am not working (or doing anything for that matter) it appears I don't have a clue what day it is. Oh well! Such is life. 
my precious mug before I polka'ed it

In the education world my crafting addiction could be referred to as an "avoidance behavior". I know I have something very important to do, but I'm avoiding by doing something that I want to do. Oh well!


The next item on DIY list: wreaths.

I love everything about them! I have found some great picks on Etsy that I will eventually have to purchase. Although, I wanted to find one that I was capable of making. Today, I found this fantastic tutorial on A Little Lovely Blog about creating a wreath from a hanger, burlap, and fabric. 

I literally grabbed my keys and darted to JoAnn's to snag some burlap. 


Precious
To make the flowers on the wreath, I was led to House of Smiths and her tutorial on fabric flowers. Remarkably, I was able to do this as well! I was feeling like a champion today.


I started folding my strips of burlap into an accordion fold. I felt like I was trying to change a baby's diaper. You know when their legs are going one way, feet kicking you another way, and screaming at the top of their lungs while swinging their arms? The burlap was not cooperating with me. It wanted to un-accordion when I wanted to to stay accordion. I finally managed to lock the burlap between my feet and hook it through the hanger.

welcome to the land of burlap
The finished product turned out pretty dandy! I was quite pleased with myself. I even took my new wreath outside for a little photoshoot in the sun.


Oh lawd! I just discovered the world of teacher blogs. Catch ya later social life!

Tuesday, July 12, 2011

Button Love

Pretend I'm at a concert doing my shout out:

This one goes out to all the babies out thereeeeeee! (get it? I'm singing in a microphone and I'm totally rocking the concert)


I need more buttons

When I spotted this little gem on Pinterest, I knew I had to make it! Although, I didn't think it was a project for my apartment. Instead, I wanted to make it for a nursery (or two..or three).

I didn't exactly follow the same directions as found on Spearmint Baby's tutorial. I improvised! I started with one of my a letter B for the my adorable nephew, Beckett.

This is my, "I hate sand" face

Boop!
Using my Cricut, I cut out a giant letter B. Then, I started attacking it with buttons and more buttons and MORE BUTTONS. I started with spray adhesive, but it was making everything sticky (it's purpose I suppose). The buttons weren't sticking to the B. Instead they were sticking to me. Since I wasn't in the mood to wear a button dress, I switched gears.  I ended up using Fabric-Tac. I brushed parts onto the B and glued buttons upon buttons.

B is for Beckett

I placed the completed letters in a white 8x10 frame from Wally World. After Beckett's creation, I got a little crazy and made:

H is for Heet
A framed H for the adorable Heet twins!
P is for Piper
I also made a P for Molly and Josh's new baby girl, Piper!

Well, it's the end of my rock-baby concert and I'll close by saying...
Peace, love and chicken grease!

Add This

LinkWithin

Related Posts Plugin for WordPress, Blogger...