Showing posts with label fabric. Show all posts

Wednesday, July 22, 2015

A Bench for Bruce

Yes - I'm sitting on the toilet. Awkward.

Let's just take a minute and remember this bathroom. 

Yuck!
Our first house project was ripping down the dreadful wallpaper in this master bathroom. You may remember this post.  I'm standing by my previous statement: Please don't ask me to help you tear down wallpaper. Please! I beg of you. 

Along with the wallpaper, we invested in new faucets, hardware for the drawers, and a new paint job.  My original intention was to spruce up the bench that came with the house. Unfortunately, we thought it would be a good idea to use that bench as a step stool during de-wallpapering and it was destroyed. Oops.  

R.I.P. brass bench. You lived a good life. 

Since then, I've been hunting for a NEW bench. 
My hunt was unsuccessful. 

Yesterday, I was walking around a flea market in my hometown and this bench popped out to me. It pleaded with me to save it. 

$10 later... it was saved!


I started by peeling off the existing cushion. The cushion had been repurposed three times before and had enough dust in it to fill my garage. 

It. Was. Gross. 


I gave the bench a new paint job with spray paint. Then, I picked up a yard of fabric at Jo-Anns, a foam cushion, some batting, and rewrapped the plywood that came with the bench. 

The highlight of this experience was investing in my first staple gun. My crafting possibilities are endless now - thanks to my new ($12) staple gun!

Here's what it looked like in the bathroom before it's little makeover:


And after it's 24-hour makeover!


Let's be honest... 
We all know who is going to take over the bench. The boss - Bruce. 

Did I mention we got a cat? Oh yes, we have a cat now. 

Meow
Hmm.. what shall I staple next?

Thursday, July 5, 2012

I Craft, Therefore I Have No Thumbprints

A New Summer Wreath!
Since my blogging adventure officially (re) began last summer, I have developed many obsessions. I have also concluded that I'm probably going to be a hoarder soon if someone doesn't stop me.  One craft that I keep recreating over and over again is the wreath. In my opinion, it's perfectly acceptable to have a new fancy wreath hanging on my door for holidays and seasons.
I have made a few of the yarn wrapped wreaths, but I'll be honest - they take for.ev.errr! Maybe I just don't have that fluid "yarn-wrapping motion" like other crafters. I've really taken to adding rosettes and other embellishments to natural wreaths. Usually I can find a natural wreath at JoAnn Fabric for around $5 or so. Not too shabby if you ask me!

In the spring, I made a simple fabric flower and natural wreath for my door here. Today, I kicked it up a notch and added a fun yarn wrapped letter! 

Once upon a time, my dear friend Alissa and I thought it would be a great idea to wrap the letters "Happy" to hang on my wall. After this extremely frustrating afternoon, I vowed to NEVER EVER wrap another letter with yarn in my life.  It was almost a year ago and I still feel the agony of the afternoon. 

I suppose I was feeling spunky today and I decided to tackle the yarn wrapping once more. Considering it was only ONE letter.. I did survive this feat. I didn't throw anything across the room and I most certainly did tackle that letter! Let Birds Fly gives a simple (and positive) tutorial to yarn wrapping here


Using a few fabric rosettes, I jazzed up the 'ol naturale wreath. While wrapping those rosettes I managed to burn my fingers several times. The feeling has come back in my fingertips and I can feel my fingers tapping my keyboard. 


Now, it's time to prep taco lettuce wraps for dinner tonight. Enjoy your Thursday, folks!

Linking up at these parties:

Friday, September 9, 2011

Ode to MIZZOU!

I'm a proud alumni of the University of Missouri. I liked it so much, I stuck around for 5 years and earned two degrees! Just kidding. (well, not really... but you get it)

I decided to make a fun wreath to show off my school pride. I have been browsing Pinterest lately in search of a wreath to mimic, and I've found several inspirations!

Before I show my wreath creation and inspirations from the web, first I'll share a few of my favorite things about MU.

The Columns:


As freshmen, it's tradition that you meet at the Columns the Sunday before school and run TOWARDS Jesse Hall. This is me and my BFF (who I met in the dorms) our first week of college.

Senior Send Off
As Seniors, you run from Jesse Hall toward the Columns! Ali and I managed to recreate our picture from freshman year.

Dorm Life:
What can I say? We rocked Johnston Hall and dorm 206. 'nuff said.


TAILGATING! Words can't describe how much I love tailgating. I have many fond memories of many fond tailgates.


Which brings me to....
Football season:
MU vs. OU 
Which brings me to another extremely important point:

It's fun (and necessary) to hate kU
Be a good friend. 

Lastly.. Shakespeares Pizza

Can you tell I'm obsessed? Why wouldn't I be!? I have made the best friends and had the best time in college. I think I'm experiencing a "quarter-life crisis".

As a fun little craft, I made myself a sweet little MU wreath. MIZZZOU-RAH!

A splash of school pride 
The supplies I used are:

  • foam wreath
  • burlap
  • black fabric
  • black/yellow fabric
  • MU print fabric
  • hot glue fun
  • fingers
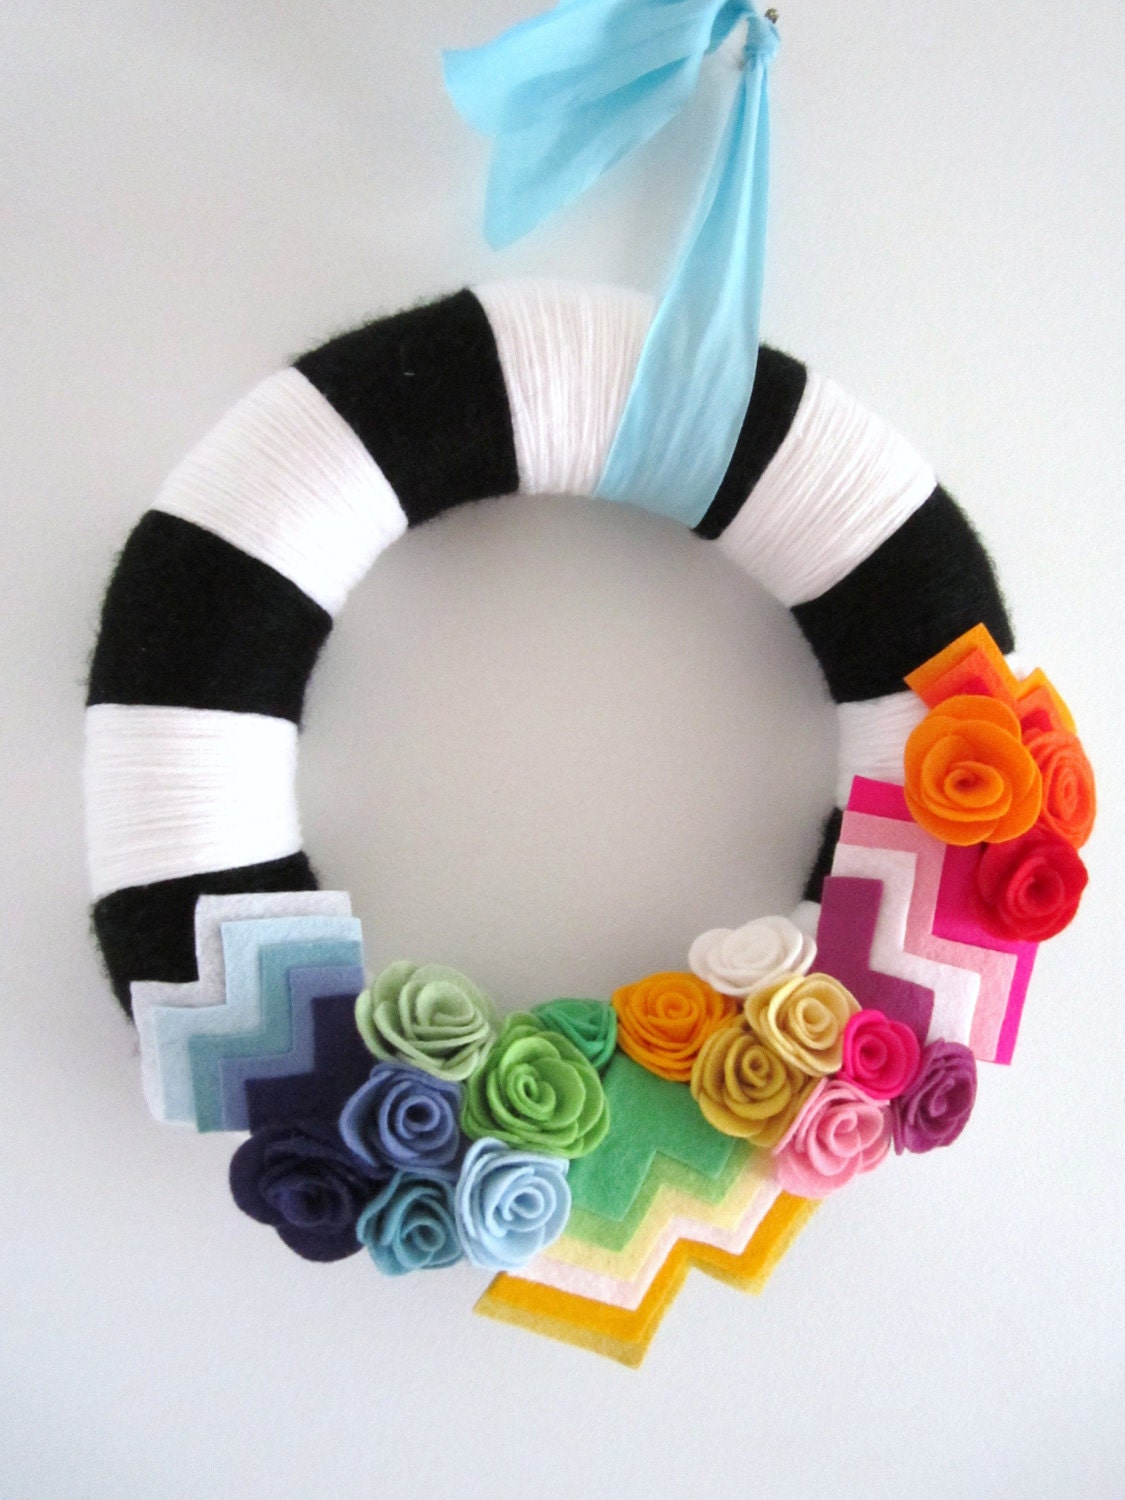
My colors don't quite match... but trust me, that doesn't bother me one bit. I'm just excited I finally made a wreath that incorporated bunting! Here are a few of my pinspirations:

Casabella Project 
My Blessed Life
Etsy
Click on the caption of each photo to visit the wreath's source. So, I'm not a professional, but hey! That's a-okay with me.

Stay tuned for a riveting cake pops post in t-minus 10 minutes.

Sunday, July 31, 2011

Smelling Crayons

Have you ever really smelled crayons before? It gives me the heebie-jeebies. I cannot stand the smell! I can handle using crayons but when they are all dumped in a drawer or tub..... ugh the agony! The smell is just too much for me to handle.

As a little "end of summer" craft and sunday night adventure, I challenged my fear of crayons. All over the blogging world and Pinterest, I have seen several images of a trendy crayon wreath for teachers.

In fact, I've seen several variations of this idea. Below each photo you will find the link to the website with a step by step tutorial.


Mom's Party Cafe (I love the ruler as a bow!)


I decided on The Ballard Bunch's blog for my tutorial. For this craft, you will need:
-3ish boxes of crayons (depending on what type of wreath you use)
-1 foam wreath to cover
-Fabric
-HOT Glue, of course I burnt my fingers a few times

So being the child that I am, I dumped three boxes of crayons on the carpet and stared at them for awhile.  They did not smell very well. Ew!


After very tedious gluing and arranging, my wreath is complete! Tomorrow, when I finally get to start setting up my classroom this will be the first thing hung on my new door in room 52.  Whoooie! I just got butterflies in my stomach. Sleeping will be difficult this evening. :)

Welcome to Ms. Furnell's 5th grade!

Sunday, July 24, 2011

Back to School to Prove to Dad I'm Not a Fool

I think it's safe to say that I will always look forward to setting up my classroom. Especially this year since I'll be in a new grade level. I have to tweak my 2nd grade ideas to appeal to 5th graders. When I photographed my classroom back in June, it was looking quite bare:

imagine the possibilities!
I began searching for ways to add some spice and color to my classroom (without breaking the bank). While googling images of classrooms I found several that had pennants and banners hanging on the walls and ceilings. Then, came the Pinterest search. I found several uses for bunting or pennants as we humans call them.


As you know, I cannot sew. Making bunting for my classroom without sewing seemed like an impossible task. Until I found Babbling Abby's blog. She provides and excellent tutorial on creating a no-sew banner. She uses stitch witchery, ribbon, fabric, and an iron. All supplies I could manage!

Lucky for me she has two blogs (for home and school) and provides two different tutorials. Click here to check out her 1st grade blog (it's awesome opossum).

Babbling Abby
Using Abby's how-to and tips, I began creating my own banner! 

In my classroom, I like to stick to primary colors. It leaves room for a lot of options and creativity. I began cutting my triangles and ironing away. There's nothing I love more than a project where I don't have to measure anything.


I know what you're thinking. That yellow triangle is backwards. Yes, I realize this. You can blame The Real Housewives of New York and their marathon today. Clearly, I got distracted. Oh well! I will go out on a limb and say that not one of my students will even notice. 

Success!
Now my naked classroom will have a little color on the walls.

I got a little banner crazy... I also made one for my spare room/office. It's my tribute to Mizzou!
MIZZOU-RAH

Now, it's time for me to lay on the couch and continue my binge of the Real Housewives. Happy Sunday!

Friday, July 22, 2011

Well, isn't that convenient for you? And the clock.

Name that movie! 
Give up? It's the legendary White Goodman in Dodge Ball. 


If you've got a whole lot of time to kill - read the first half of my post. 

If you're short on time and want to stay sane - read the second half of my post. 


Once again, Pinterest has made me do crazy things. While on a pinning spree, I found myself in awe of this photo:

This craft was geared towards the following events: weddings and/or baby showers. Well, I've got neither coming up but I still felt compelled to create these little gems. I thought (and still think while I'm staring at them completed) these poms would like delightful in my bedroom. 

I gathered my supplies: 
paper lanterns (use the small ones!!)
glue gun
fabric

As the beautiful hand model on Once Wed demonstrates below. I started gluing away. Little did I know I would be gluing and cutting circles for-ev-er (Sandlot, anyone?)

Warning: you will lose a lot of fabric. The end result is worth it! But don't say I didn't warn you.

Her hands are prettier than mine. 

glue glue glue -- cut cut cut -- repeat
I ended up making two poms. I have a yellow and pink fabric delight hanging in my bedroom. While I was completing this project, I managed to talk to a friend during rush hour traffic in San Diego and chat with another friend while we were both Keeping Up with the Kardashians. My advice: multi-task while gluing!

maybe someday I'll make a triplet. Maybe.
Now, are you short on time and want to whip something up? Ahhhh I've got the craft for you.

Using a small wreath from Dollar Tree, fabric, and glue... you can crank out this wreath in no time. 

Although, of course I had issues. It's probably because I made my wreath at 12:00 AM. My sleeping patterns are all out of whack. Anyway that's another story!

The directions say to make "pleats" with the folded fabric. I tried this and was unsuccessful. My so-called flower looked like a pile of fabric trying to be fancy. I googled "pleats" and was given very strange images. Clearly, nothing was successful. After burning my fingers one to many times on my glue gun and cursing fabric.. I switched gears. 

I will refer to this as "Fabric Flower Plan B":

I went for the good 'ol Rosette Flower. 


As I'm looking at my wreath next to my bed, I realize it needs a little something ... but I haven't quite figured out what it is. I would love suggestions! 


Tuesday, July 19, 2011

Oh! The Life of a Renter


It's official! I'm a resident of Lake Ozark, Missouri. After 5 fantastic years in Columbia, I've taken a leap and moved away. I figure if two of my friends can move to Texas and California... I can manage the lake!


Since I'm renting my new house, painting isn't really an option. Nor was I ready to take on such a task. Even though I can't paint, I still want to bring color into my living room! My pillows can only do so much.

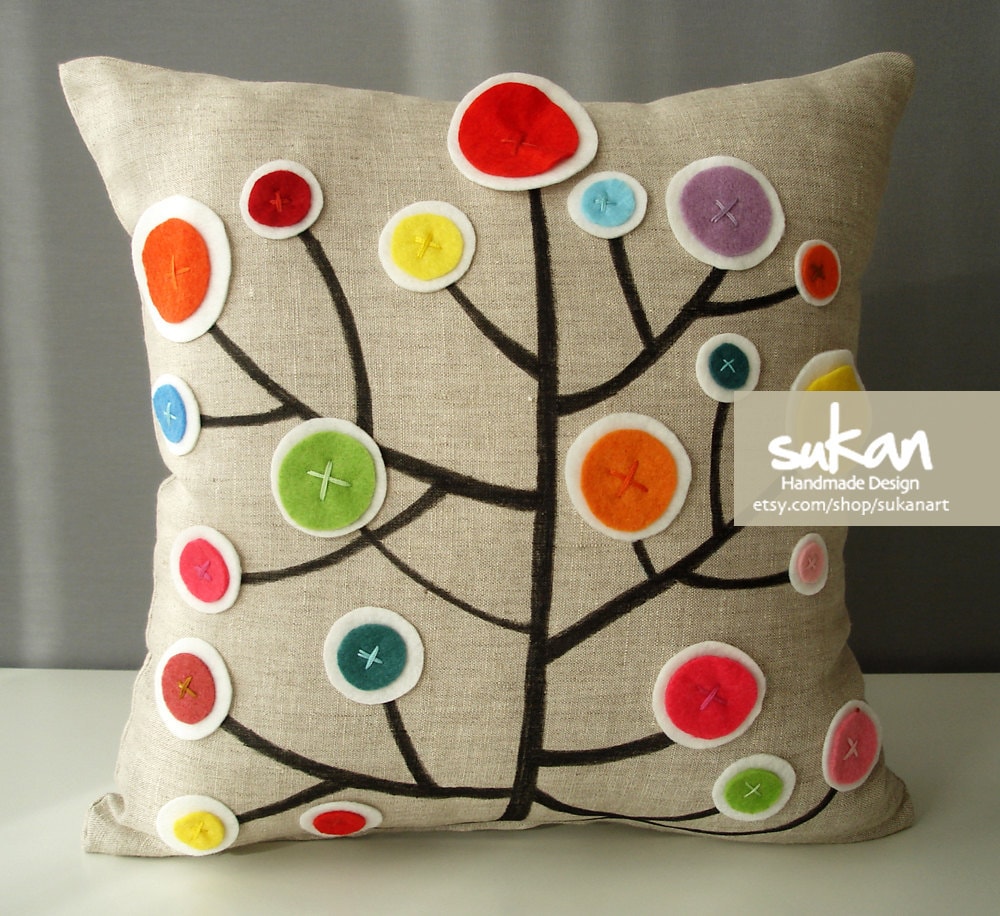
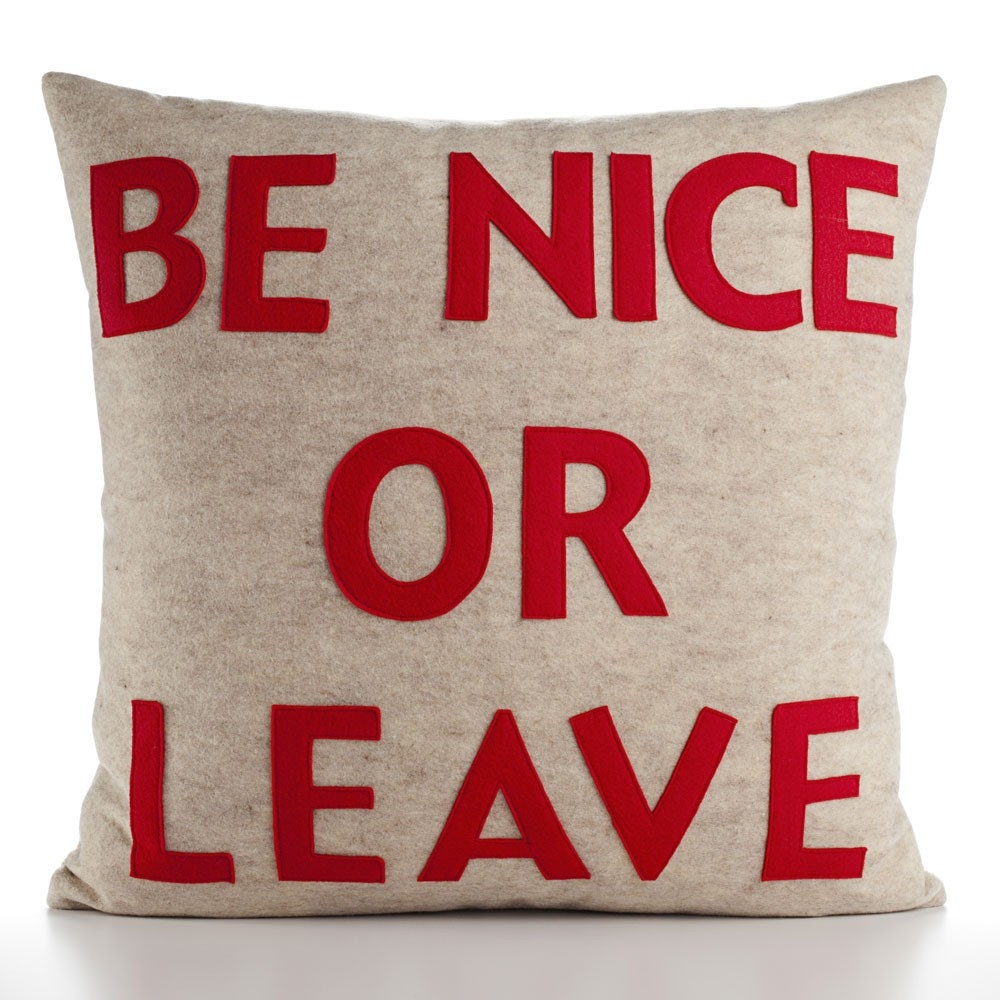
Speaking of pillows... Here are a few of my favorites that I have found lately:

DIY Ruffled Rosette Flower
Missouri Pillow, Etsy

DIY Pillows from Sweaters, Pinterest

Etsy

Recycled Felt, Etsy

White Linen, Etsy
Oops! Got a little distracted. I do love pillows. If you've ever been to mi casa you will find pillows everywhere: on the couch, chair, bed, and floor. Pillows are the perfect addition to any room!

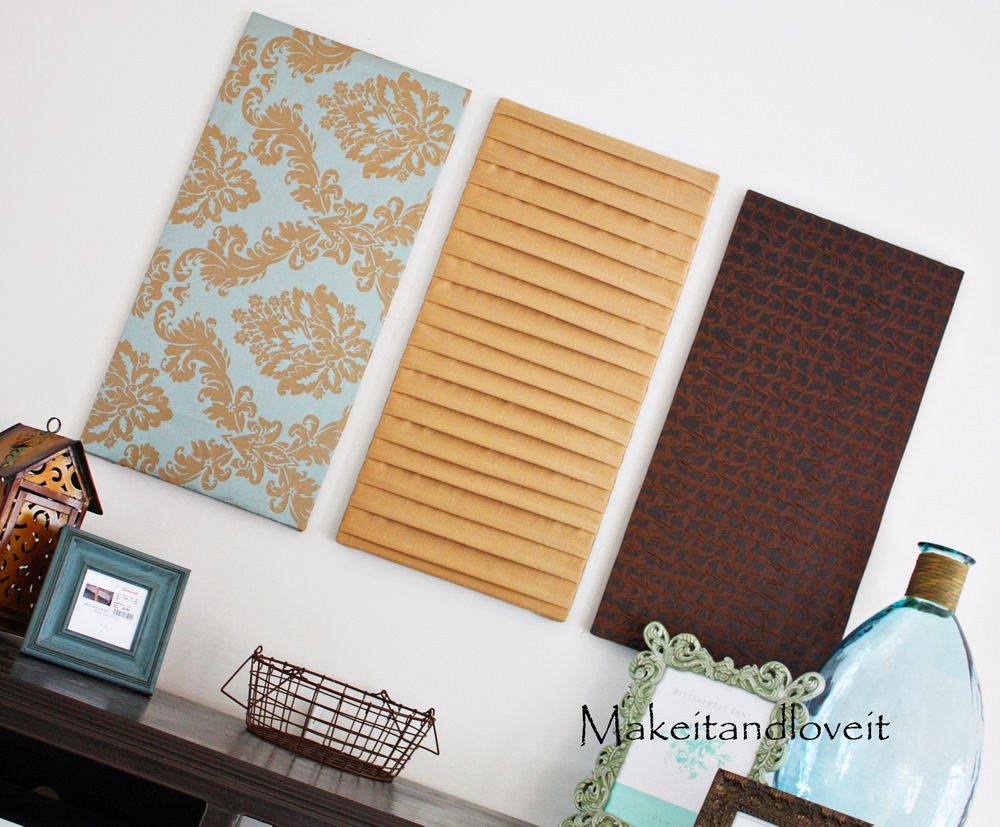
Back to my post.  I wanted to add color to my living room without painting. I found an excellent idea on Make It-Love It's blog to hang fabric. What an excellent idea! 


I picked up a few pieces of fabric at JoAnn's that matched my living room. The tutorial suggests using plywood, staple gun, and other supplies I didn't have.

Since I didn't have (nor want to buy) the necessary supplies, I was stumped as to how to complete this project. Then! A lightbulb lit above my head.

While walking around Michael's craft store, I found myself in the paint section. I found two large white  paint canvases. I will admit, they were more expensive than the plywood approach...but they were much easier for me to handle!

I measured the fabric to fit the canvas like a snug blanket. Then, I started cutting and gluing away!


Lastly, I hung the newly wrapped canvases on the wall using 3M heavy duty frame strips. I stepped back and took a few photos.


An hour later, I was sitting on my couch and they fell on the ground. I jumped so high I thought I was going to land in my bedroom. Luckily, no one was trying to break in... I had only overestimated the capabilities of 3M products.

I put my thinking cap on and used nails.

Then, I ate a cookie. Really.. I did! My landlord made me cookies.

P.S. I joined a Linky Party! Check it out here: Tater Tots and Jello

Add This

LinkWithin

Related Posts Plugin for WordPress, Blogger...