Sunday, July 31, 2011

Smelling Crayons

Have you ever really smelled crayons before? It gives me the heebie-jeebies. I cannot stand the smell! I can handle using crayons but when they are all dumped in a drawer or tub..... ugh the agony! The smell is just too much for me to handle.

As a little "end of summer" craft and sunday night adventure, I challenged my fear of crayons. All over the blogging world and Pinterest, I have seen several images of a trendy crayon wreath for teachers.

In fact, I've seen several variations of this idea. Below each photo you will find the link to the website with a step by step tutorial.


Mom's Party Cafe (I love the ruler as a bow!)


I decided on The Ballard Bunch's blog for my tutorial. For this craft, you will need:
-3ish boxes of crayons (depending on what type of wreath you use)
-1 foam wreath to cover
-Fabric
-HOT Glue, of course I burnt my fingers a few times

So being the child that I am, I dumped three boxes of crayons on the carpet and stared at them for awhile.  They did not smell very well. Ew!


After very tedious gluing and arranging, my wreath is complete! Tomorrow, when I finally get to start setting up my classroom this will be the first thing hung on my new door in room 52.  Whoooie! I just got butterflies in my stomach. Sleeping will be difficult this evening. :)

Welcome to Ms. Furnell's 5th grade!

Thursday, July 28, 2011

Stellar Scientists!

I've got bulletin boards on the brain! Today, I met with a fellow 5th grade teacher for lunch and school-chat. My brain was extremely overloaded, overwhelmed, and excited! I literally came home and laid on my bed and debriefed mentally. After putting on my comfy sweatpants, I busted out the Cricut machine.

We all know how important (and beneficial) it is to display student work. Last year, I had frames hanging outside of my classroom under the title, "Frameworthy Work". When students would do well on an assignment or test, I would let them hang their work in our frames outside. The frames were a little too tall, so I ended up having to help them... but you get the idea! Several times when I would hang our recent projects in the hallway, I would give myself a headache because the students would swarm around the projects and chatter. I don't do "chatting" in the hallway. BUT! It was best for the kids. :)

This year, I decided to hang frames again for student work (in a future post!) Then, Emily suggested I use one of my bulletin boards for student work! Ta-daaaaaaaaaaa! My next project was born.

But first, here are some great ideas to display student work that I have found on the internet.


Clipboards for each kiddo. Check it out here


Bravo board! You will swoon after everything The First Grade Parade posts on her blog.


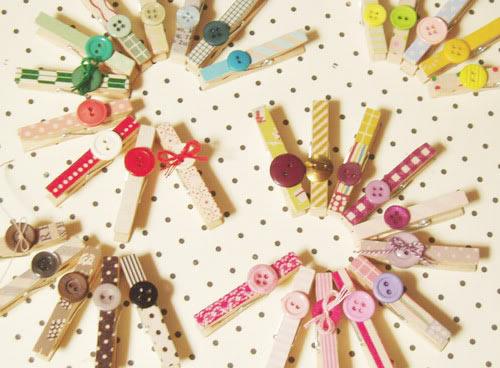
Clothespins with mini chalkboards available on Etsy. You could totally make these! Just like...


With clothespins in mind, I kept searching. I had clothespins and lucky for me I found this!


Factory Direct Craft gives a pretty great tutorial on how to make your clothespins fancy-fied. 


Using Mod Podge, scrapbook paper, crusty clothespins from last school year, and buttons I created my bulletin board. 


Use your imagination! I have yet to make it into my classroom, so this is a preview of what will soon be hanging in my classroom. 


It's 10:00! You know what that means.. HIMYM is on Lifetime. 

Wait, why is Dance Moms on? I don't approve. 

Grab Your 6-Pack For This One!

coke > pepsi

That's right, you heard me. You'll need a 6-pack! I chose my favorite soft drink, Coke. I literally cannot go a day without it. Trust me, I've tried. It's painful.

I'm sure you're wondering if I drink Pepsi. No, never. Yuck! Only coke for me.

Lately, I've been finding neat crafts made from recycled bottles. I found this photo how-to on Pinterest and went for it!
The Colorful Living Project uses four bottles of Izze pop to create a delightful gift for a friend. I was very ambitious and figured that the day I bought my 6-pack of glass bottles, I would be crafting that night. I love coke, but not that much. I was a tad over zealous and it took me a few days to drink my cokes. I'm only human, people!

I was so anxious after painting one that I had to photograph the bottle and blog! Eventually, you will find mine as centerpieces on my kitchen table. Who knows, I may even gift one of my six bottles to a friend. Lots of possibilities!


I think we can all thank the lovely brand of Coca-Cola for this project.

Wednesday, July 27, 2011

Haaave you met, Martha?

Are you fan of How I Met Your Mother? Or HIMYM as I like to call it. (I didn't coin this nickname!)

If you're not, you should be.


That's all I have to say about that.

Last year, as I was preparing to teach second grade I began brainstorming ways to spice up my classroom. My dear friend Scarlet and her (now husband) Derek came to visit Andy and I in Columbia. While talking about our schools, she showed me pictures of her classroom and introduced me to Martha Stewart's Tissue Paper Pom Poms. She gave me the how-to and we made tons! Okay, I'm lying. We only made a few, but you can crank these puppies out pretty quickly.

Parties - Martha Style

All you need to create this paper wonders are:

Tissue paper (heavy duty paper works best!)
Floral wire
Fingers
Scissors
More fingers

As usual Martha gives a pretty great step by step sequence for completing this project. Last year, my poms made a debut in my classroom and outside in the hallway. These photos were taken prior to the school year so excuse the mess. Oh, why am I explaining this? You're teachers! You understand.


Today, my fellow former Fellow (nice alliteration, eh?) Emily and I started folding away creating poms once again.  Emily decided to make a few in her school colors while I went with crazy colors (I'm exaggerating again, they aren't crazy!)

Go Eagles!

sky, plants, and sun!
You can make your poms look differently by cutting the edges. They can be spikey or scalloped. This year, I went for the spike. Last year it was a scallop. Who knows where next year will take me? Perhaps a spikey-scallop.

Tuesday, July 26, 2011

An Apple a Day Keeps the Doctor Away

Dump me in the pile (or stereotype) of teachers who like apple-ly (yes, that's a word) things. I have several reasons why I like apples. Here are just a few:
1. Apples are delicious
2. Apples dipped in anything are even more delicious
3. Apples are cute as a button

This year, I had two students bring apples to me. It was truly a touching moment!

I think you get the idea. No wait, I think I should elaborate a tad more with visual examples. As most teachers, I need to appeal to all learners who read my post.

classic literature involving apples

fabric to complement your classroom decor
endless possibilities of bulletin boards
yummy and delicious cookies
Now I'm positive that you get the picture. In a nutshell, I'm an apple-lovin' teacher. So today, when my second grade team from Hallsville came to visit me at the lake I made these:

Martha knows best
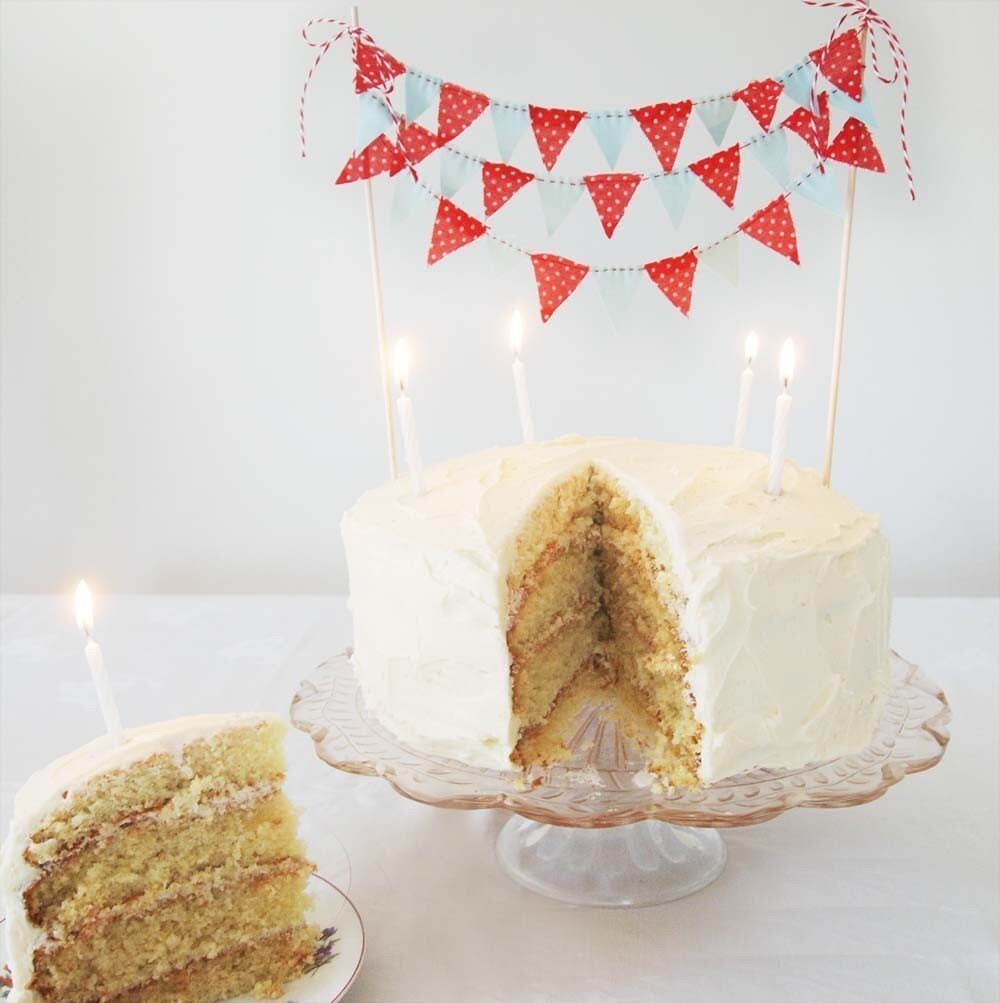
Before you think I created a masterpiece, I have something to admit. I used box cake mix and pre-made frosting to create this little treats. Whew, I'm glad that's out in the open. 


cupcakes and Vista Grande go together like peas and carrots
Let's just say, Best Choice makes some pretty great white cake mix. Kudos!

I decided to end my day with one more apple-ly project. Can you tell I'm getting excited about the upcoming school year? Pinterest introduced me to this little gem of a project and I was hooked. 


It's the perfect tote to carry papers and whatnot to and from school. Craft Stylish provides a very detailed tutorial on how to complete this project. 

I headed to Wally World and picked up my supplies:


With Michael Scott and the rest of the Dunder Mifflin staff entertaining me, I started stamping away. 


It's not perfect and things got a little messy, but that's quite alright with me! :)

Monday, July 25, 2011

"Ain't Nothin' But a Chicken Wing!"

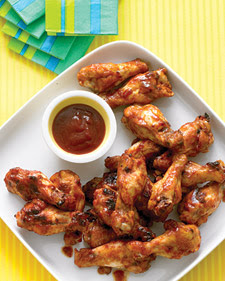
For dinner this evening, I decided to tackle Martha's Brown-Sugar Barbecue Chicken Drumettes. The recipe reminded me of the glaze I use for my meatloaf (minus a few ingredients). With meatloaf in mind, I knew these chicken wings were bound to be delicious.


Ingredients

  • 2 cups ketchup
  • 1 cup packed light-brown sugar
  • 2 tablespoons Worcestershire sauce
  • 2 tablespoons cider vinegar
  • Coarse salt and ground pepper
  • 6 pounds chicken drumettes, patted dry
Ready to rock and roll!

Directions

  1. In a medium bowl, whisk together ketchup, sugar, Worcestershire, and vinegar; season with salt and pepper. Set aside 1 cup sauce for tossing raw chicken; use rest for baked chicken.
  2. Preheat oven to 450 degrees, with racks in upper and lower thirds; line two rimmed baking sheets with aluminum foil.
  3. Divide drumettes between baking sheets, and toss with reserved 1 cup sauce.
  4. Bake chicken until opaque throughout, 30 to 35 minutes, rotating sheets and tossing chicken halfway through. Toss baked drumettes with 1/2 cup sauce, and serve with remaining sauce on the side.

Thanks to Martha, my belly is full and satisfied. I topped off my dinner with a few tootsie rolls and quality television on TLC.

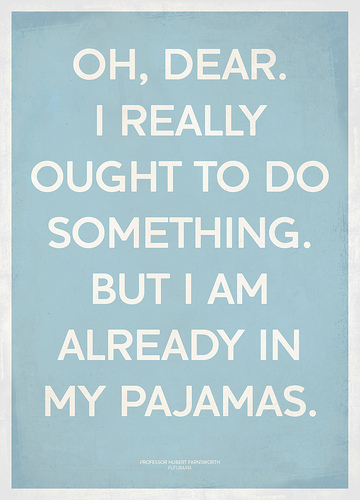
Now, I shall continue what I did all day.. relaxing in my sweats.

my summer

Sunday, July 24, 2011

For the Love of Pinterest

I just joined a Linky Party on Michelle's Math in the Middle. Lots of teachers are linking up and sharing their Pinterest accounts.

Follow me on Pinterest here. It's very addicting, but worth it!

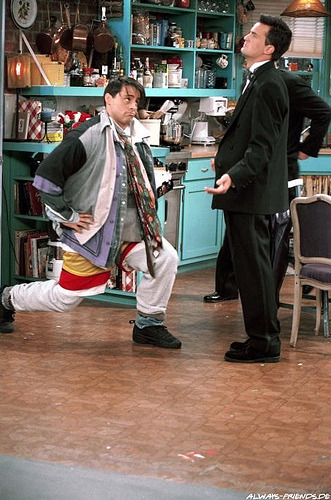
Now, before I go for this evening...  "Hi, my name is Chandler... could I be wearing any more clothes?"

Back to School to Prove to Dad I'm Not a Fool

I think it's safe to say that I will always look forward to setting up my classroom. Especially this year since I'll be in a new grade level. I have to tweak my 2nd grade ideas to appeal to 5th graders. When I photographed my classroom back in June, it was looking quite bare:

imagine the possibilities!
I began searching for ways to add some spice and color to my classroom (without breaking the bank). While googling images of classrooms I found several that had pennants and banners hanging on the walls and ceilings. Then, came the Pinterest search. I found several uses for bunting or pennants as we humans call them.


As you know, I cannot sew. Making bunting for my classroom without sewing seemed like an impossible task. Until I found Babbling Abby's blog. She provides and excellent tutorial on creating a no-sew banner. She uses stitch witchery, ribbon, fabric, and an iron. All supplies I could manage!

Lucky for me she has two blogs (for home and school) and provides two different tutorials. Click here to check out her 1st grade blog (it's awesome opossum).

Babbling Abby
Using Abby's how-to and tips, I began creating my own banner! 

In my classroom, I like to stick to primary colors. It leaves room for a lot of options and creativity. I began cutting my triangles and ironing away. There's nothing I love more than a project where I don't have to measure anything.


I know what you're thinking. That yellow triangle is backwards. Yes, I realize this. You can blame The Real Housewives of New York and their marathon today. Clearly, I got distracted. Oh well! I will go out on a limb and say that not one of my students will even notice. 

Success!
Now my naked classroom will have a little color on the walls.

I got a little banner crazy... I also made one for my spare room/office. It's my tribute to Mizzou!
MIZZOU-RAH

Now, it's time for me to lay on the couch and continue my binge of the Real Housewives. Happy Sunday!

Saturday, July 23, 2011

FREE spelled backwards spells... EERF (still free)

Lately, I've been browsing Pinterest for classroom ideas. Because of my intense browsing, I've come across several sites offering free printables.  I know everyone speaks the language of FREE. Below you will find links to free things. 

But first... this hilarious video I found on Tunstall Times' blog. I know all teachers can appreciate its humor!


Now, some pretty great free stuff for teachers. 


Positive Thoughts printable for classroom (or maybe even the lounge!)

Subway Art for teachers. Browse this site for other great printables!

Yummy Treat Topper printables. The site includes variations for home and office. Great gift idea!


Keep calm? I'll try. Click here for printable.


This printable would be great for open house or meet the teacher night. Oh Boy 3rd Grade offers this great printable!


Next week, I'm going to begin tackling projects for my classroom. Including a meeting with another 5th grade teacher on Thursday! It's official.. I'm super pumped about this school year. Bring it on!

Add This

LinkWithin

Related Posts Plugin for WordPress, Blogger...