Saturday, July 23, 2011

Channeling My Inner Girl Scout

What's your favorite kind of Girl Scout cookie?

Mine is definitely the classic shortbread cookie. There's something about those tasty treats that make my heart melt. A cookie that comes in a close second is the Samoas! They're a perfect blend of chocolate, coconut, and carmel. Yum yum in my tum.

While browsing Pinterest, I stumbled across a recipe for Homemade Girl Scout Cookies and knew I had to make them. I put on my apron and began measuring away. Needless to say, things got a little messy...
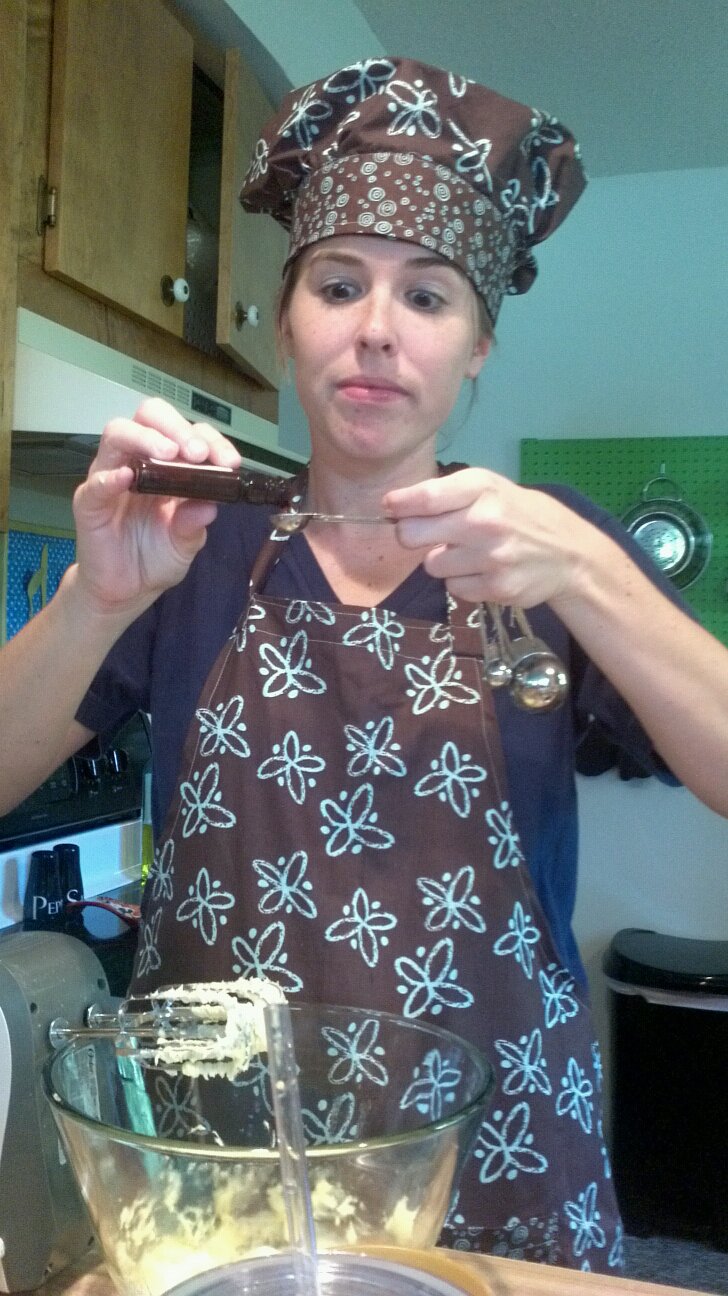
post lake swim
After having an audience while I whipped up these bars, I realized I have more similarities to the Swedish Chef that I originally thought. 


Back to the baking!
what your bars should look like...

With my two friends, Emily and Jolyn, at my side... I began this adventure. Let me just say, this was a multi-step process. Not as "quick" and "easy" as I anticipated. 

With this particular recipe you have to make time to cook the cookie base (yum) and crisp your coconut. That's roughly 40 minutes after preparing the batter. Of course, I hadn't read the entire recipe before hand so I wasn't aware of this. I tell my students to read the directions all the time, you would think I would take my own advice!

After our cookie base had been blobbed with carmel and coconut, I used my trusty pizza cutter to make bars. Then, we began dipping the bars in chocolate. Emily and I both managed to burn our fingers on the piping hot chocolate. So let this be a warning to you... anything you put in the microwave GETS REALLY HOT. (In case you didn't know that already...)

The end product was delicious! I highly recommend this recipe, but if I were to do this again I would take Martha's advice and cook them her way. 


Ingredients

  • 3 cups finely ground cookies (12 ounces), such as graham crackers or chocolate wafers, or a combination
  • 1/4 cup sugar
  • 3/4 cup (1 1/2 sticks) unsalted butter, melted
  • 1 cup pecan pieces
  • 1 cup semisweet chocolate chips or chunks
  • 1 can (14 ounces) sweetened condensed milk
  • 1 1/2 cups sweetened shredded coconut

Directions

  1. Preheat oven to 375 degrees. Lightly splash a 15-by-10-inch rimmed baking sheet evenly with water, then line with parchment paper.
  2. In a large bowl, stir together cookie crumbs, sugar, and butter until combined. Evenly press onto bottom and up sides of prepared baking sheet. Bake, rotating halfway through, until firm, about 10 minutes. Transfer to a wire rack; cool, about 20 minutes.
  3. Sprinkle cooled crust evenly with pecans and chocolate. Pour condensed milk over the top, spreading to cover completely (do not let it drip over the edges). Sprinkle with coconut.
  4. Bake until coconut is toasted, 10 to 15 minutes. Transfer to rack; cool completely. Trim edges, if desired, and cut into equal-size bars.

Friday, July 22, 2011

Well, isn't that convenient for you? And the clock.

Name that movie! 
Give up? It's the legendary White Goodman in Dodge Ball. 


If you've got a whole lot of time to kill - read the first half of my post. 

If you're short on time and want to stay sane - read the second half of my post. 


Once again, Pinterest has made me do crazy things. While on a pinning spree, I found myself in awe of this photo:

This craft was geared towards the following events: weddings and/or baby showers. Well, I've got neither coming up but I still felt compelled to create these little gems. I thought (and still think while I'm staring at them completed) these poms would like delightful in my bedroom. 

I gathered my supplies: 
paper lanterns (use the small ones!!)
glue gun
fabric

As the beautiful hand model on Once Wed demonstrates below. I started gluing away. Little did I know I would be gluing and cutting circles for-ev-er (Sandlot, anyone?)

Warning: you will lose a lot of fabric. The end result is worth it! But don't say I didn't warn you.

Her hands are prettier than mine. 

glue glue glue -- cut cut cut -- repeat
I ended up making two poms. I have a yellow and pink fabric delight hanging in my bedroom. While I was completing this project, I managed to talk to a friend during rush hour traffic in San Diego and chat with another friend while we were both Keeping Up with the Kardashians. My advice: multi-task while gluing!

maybe someday I'll make a triplet. Maybe.
Now, are you short on time and want to whip something up? Ahhhh I've got the craft for you.

Using a small wreath from Dollar Tree, fabric, and glue... you can crank out this wreath in no time. 

Although, of course I had issues. It's probably because I made my wreath at 12:00 AM. My sleeping patterns are all out of whack. Anyway that's another story!

The directions say to make "pleats" with the folded fabric. I tried this and was unsuccessful. My so-called flower looked like a pile of fabric trying to be fancy. I googled "pleats" and was given very strange images. Clearly, nothing was successful. After burning my fingers one to many times on my glue gun and cursing fabric.. I switched gears. 

I will refer to this as "Fabric Flower Plan B":

I went for the good 'ol Rosette Flower. 


As I'm looking at my wreath next to my bed, I realize it needs a little something ... but I haven't quite figured out what it is. I would love suggestions! 


Thursday, July 21, 2011

Bob the Builder

Fact: I am not a very handy person. Today, Bob the Builder and Handy Manny must have joined forces and given me some of their power. Not only did I assemble a book shelf... I also hung curtain rods. This was a truly memorable day!

Fact #2: I never thought I would ever purchase a peg board and use it ...ever.

Boy was I wrong!

Thanks to Pinterest I've realized that handy men aren't the only ones that get to use peg boards.

Jewelry Storage, Pinterest
For the garage!
Now that's fancy storage!

Water fun for kiddos
Craft Storage
See what I mean? The possibilites are endless! Then, I stumbled upon this photo and was intrigued....


Design Sponge gives a more detailed how-to on their site, which is where my inspiration came from!

So, my next project was underway. I headed to Menards and purchased peg board, paint, and boards. I was so excited about my purchase I even took a photo of it while shopping. (I don't belong in a hardware store)

CHEESE

Before: booooooo

After: ahhhhhhhhh
After a few coats of paint, my peg board was a beautiful green masterpiece! Sadly, my board had to sit around and wait for me to move and get settled.

Finally! Today, with the help of my landlords, my peg board has found its new home in my kitchen. It's a bright splash of green in a white-walled area. Fancy, eh?

thanks to alissa I have a homemade lunch box and apron to display!
view from the living room
my cozy, bright, and crafted kitchen!
Thanks to this project my stereotype of peg boards has been broken. Who knows? Maybe I'll find myself in a hardware store again sometime soon.

Finger Lickin' Good


I'm on a roll! I decided to participate in today's prompt on Clutter Free Classroom's blog.

Share a recipe that you often make during the school year. Bonus points will be awarded if your recipe freezes well or can be made in a crockpot.


Well well well.. have I got the best recipe for you? Yes, I do. That was a confusing sentence. Let me clear things up.. I've got a perfect dip to bring to your next staff carry in. 


I have made this Spicy Corn Dip on several occasions. Once, I made it for a weekly staff carry in and by the time my lunch shift rolled around at 12:15 ... it was gone! I had several people asking me for the recipe. The credit goes to my oh-so-wonderful All Recipes app on my iPhone. 


Delicious mixture of sweet and salty
Now, I won't make you wait any longer. The recipe:


Ingredients

  • 1 (8 ounce) container sour cream
  • 1 cup mayonnaise
  • 2 (11 ounce) cans Mexican-style corn
  • 4 green onions, chopped
  • 3 jalapeno peppers, seeded and minced
  • 1 (7 ounce) can diced green chiles
  • 1 1/4 cups shredded Cheddar cheese


Directions
  1. In a medium bowl, mix together sour cream, mayonnaise, corn, green onions, jalapeno chile peppers, green chile peppers and cheese. Ready to serve!


Is that easy or what? You literally dump everything in a bowl and viola! You've got a delicious dip that will have everyone drooling over.  Trust me, I speak from experience.


Wednesday, July 20, 2011

My Two Pals: Gail & Todd

Clutter Free Classroom
Lately, I've stumbled upon some fantastic teacher blogs. So, I've decided to participate in Clutter Free Classroom's Linky Party. Today's writing prompt (whoooa I'm not ready for school to begin) is:

Respond to this prompt in a complete sentence. Who is your favorite children’s author? Add details to support your answer.


This year I participated in Action Research. My action research revolved around using nonfiction in my second grade classroom. Because of this project, I fell in love with the children's author Gail Gibbons. Are you familiar? She's fantastic. Her books are visually appealing and easy to read. Plus, my students loved them.

She has written well over 100 books. Here are a few titles that were favorites among my second graders!


Also! If you visit her website, she has printables and teaching guides available for free. I know everyone loves free things!

Like most teachers, I have many many many favorite authors. Another author that I love is Todd Parr. My favorite of his books is, "It's Okay To Be Different". It's the perfect book to read to kids on the first day of school to build community. My favorite page says:
"It's okay to eat mac and cheese in the bathtub."

Whew! Good thing I'm not the only one.

It's okay to be on wheels. It's okay to be different. 


Happy! Sad! Shocked! Angry!

I feel good just looking at the cover!

I know a few friends who should read this. 

These books also make for great gifts for family. I bought my dad "The Grandpa Book" and my sister "The Mommy Book". The use of colors are outstanding!

Okay, okay... you caught me! Maybe I am ready to be back in the classroom. :)

Tuesday, July 19, 2011

Oh! The Life of a Renter


It's official! I'm a resident of Lake Ozark, Missouri. After 5 fantastic years in Columbia, I've taken a leap and moved away. I figure if two of my friends can move to Texas and California... I can manage the lake!


Since I'm renting my new house, painting isn't really an option. Nor was I ready to take on such a task. Even though I can't paint, I still want to bring color into my living room! My pillows can only do so much.

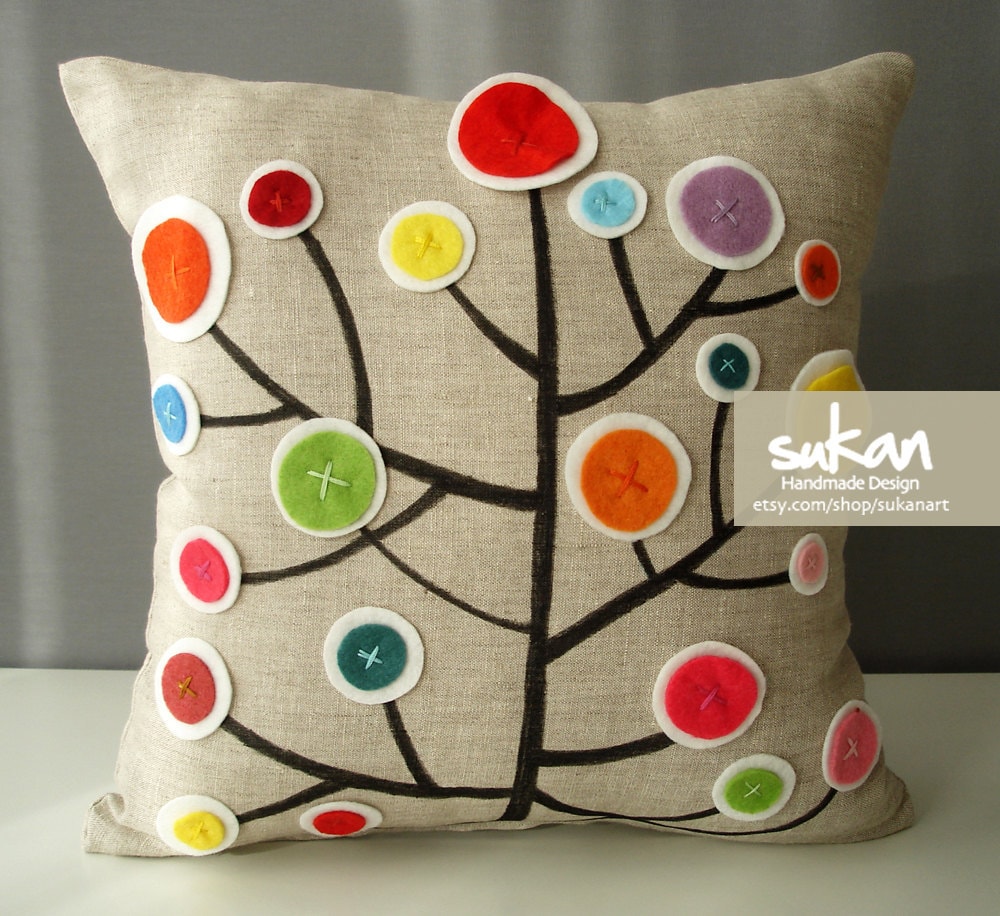
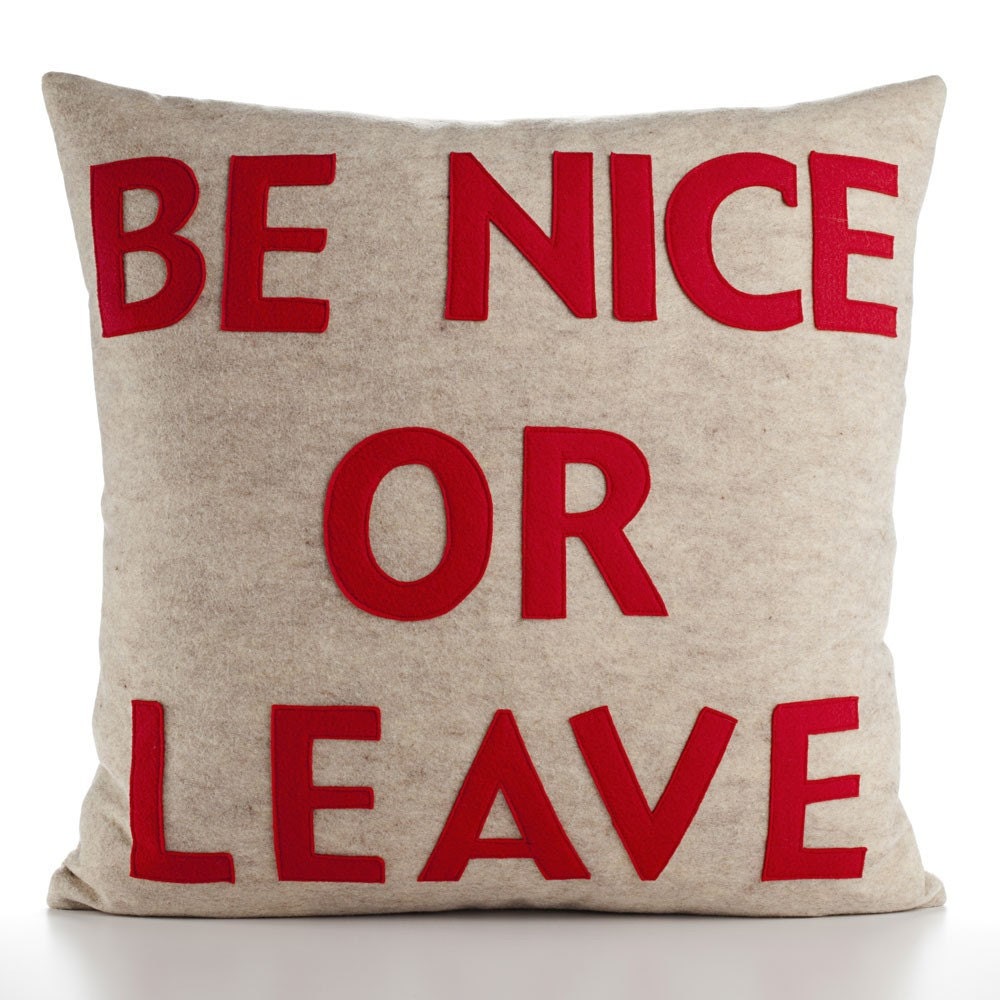
Speaking of pillows... Here are a few of my favorites that I have found lately:

DIY Ruffled Rosette Flower
Missouri Pillow, Etsy

DIY Pillows from Sweaters, Pinterest

Etsy

Recycled Felt, Etsy

White Linen, Etsy
Oops! Got a little distracted. I do love pillows. If you've ever been to mi casa you will find pillows everywhere: on the couch, chair, bed, and floor. Pillows are the perfect addition to any room!

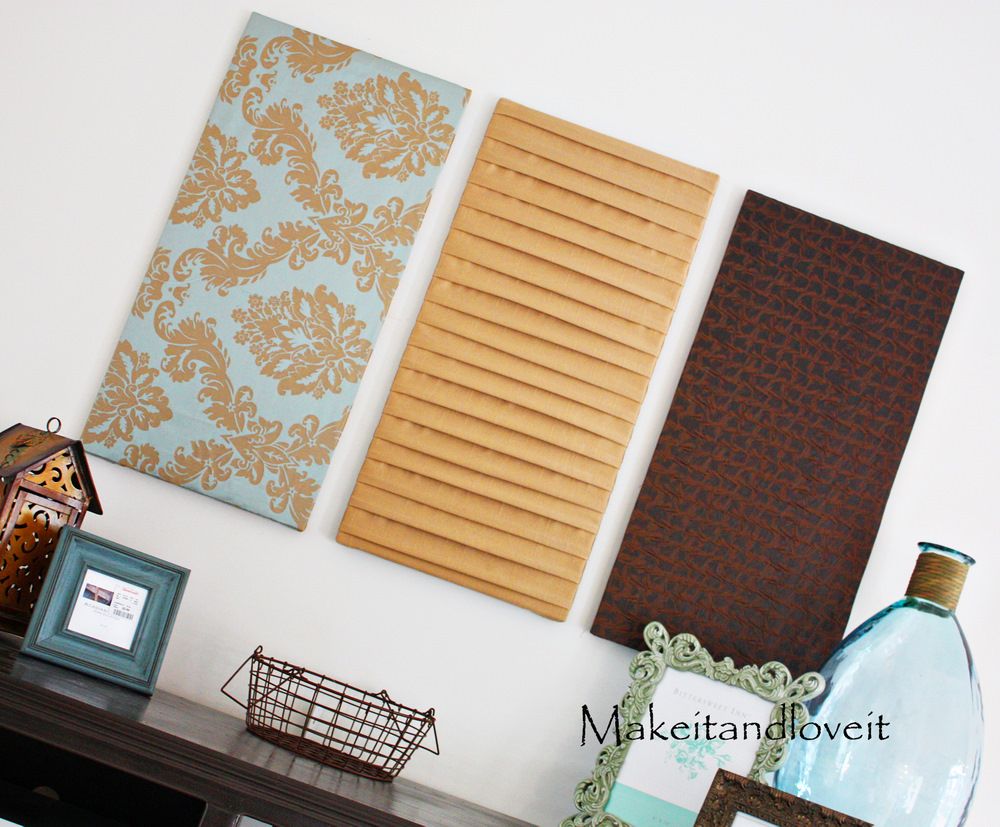
Back to my post.  I wanted to add color to my living room without painting. I found an excellent idea on Make It-Love It's blog to hang fabric. What an excellent idea! 


I picked up a few pieces of fabric at JoAnn's that matched my living room. The tutorial suggests using plywood, staple gun, and other supplies I didn't have.

Since I didn't have (nor want to buy) the necessary supplies, I was stumped as to how to complete this project. Then! A lightbulb lit above my head.

While walking around Michael's craft store, I found myself in the paint section. I found two large white  paint canvases. I will admit, they were more expensive than the plywood approach...but they were much easier for me to handle!

I measured the fabric to fit the canvas like a snug blanket. Then, I started cutting and gluing away!


Lastly, I hung the newly wrapped canvases on the wall using 3M heavy duty frame strips. I stepped back and took a few photos.


An hour later, I was sitting on my couch and they fell on the ground. I jumped so high I thought I was going to land in my bedroom. Luckily, no one was trying to break in... I had only overestimated the capabilities of 3M products.

I put my thinking cap on and used nails.

Then, I ate a cookie. Really.. I did! My landlord made me cookies.

P.S. I joined a Linky Party! Check it out here: Tater Tots and Jello

Sunday, July 17, 2011

Blue Dabba Dee Dabba Dah

I've always wanted an adorable cake stand. Lately, I have been searching for one that tickles my fancy. Of couse, I've found really neat stands on Etsy.

Graduation Themed Cupcake Stand, Etsy

Aedriele Orignials, Etsy


The problem is, I don't make enough cakes to fork over $50.00 for a cake stand! I found an awesome tutorial on Centsational Girl to make your own cake stand. Using spray paint and dishes from Goodwill she make bright colorful stands for less that $15.00! Using guidance from Centsational's blog, I scurried over to the Dollar Tree (where everything is $1) and picked up a large white plate and martini glass. 


I tried out a few "techniques" on plates before I decided on my final one. The plates were only $1 so I wasn't losing much by testing out things. I attempted to:

1. Create a zigzag pattern on the plate using a template from my Cricut (FAIL)
2. Use duct tape to create a pattern (FAIL)
3. Use hot glue to add a swirl pattern around the edge of the plate (FAIL)


I failed three times before giving up and deciding to just make a simple bright blue stand. The doilies will make it fancy!


The grass was blue dabba dee dabba dah after this

cake anyone?
I wish I had a neat cake to display on my new stand, but all of my dishes are in boxes and my pantry is empty. Soon enough, my cake stand will have yummy goodies standing on it. 

WORD OF CAUTION! If you make this project, make sure you put doilies underneath your food. I would hate for your cake to taste like spray paint. Yuck!

Add This

LinkWithin

Related Posts Plugin for WordPress, Blogger...